Top 8 Installation Tips for Oil Seals

Top 8 Installation Tips for Oil Seals

Apr 17, 2024 Oil Seals | Material

Rubber oil seals play a significant role in preventing contamination and leakage in various applications, from automotive engines to industrial machinery. Although widely used seals, many users fail to get the results as expected mainly due to improper installation in applications. Understanding what rubber oil seals are and how to install them correctly is essential for ensuring the efficient and reliable operation of these systems. Would you like to get a clear clarity about oil seals and how to install them correctly in your applications? If yes, continue reading this post.

Install Oil Seals

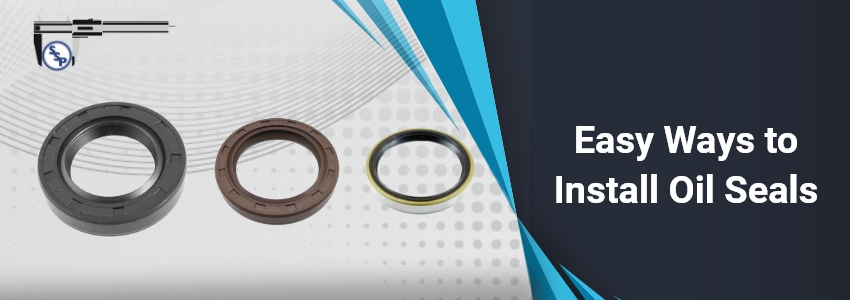
What are Rubber Oil Seals?

Rubber oil seals, also known as oil seals, are popularly used components in various industrial applications especially to prevent the leakage of fluids, such as oils or lubricants, from machinery or equipment. Made to fit tightly around rotating or moving shafts, these industrial oil seals, efficaciously create a barrier between the inner workings of the machine and the external environment.

loaded U Cup Seals
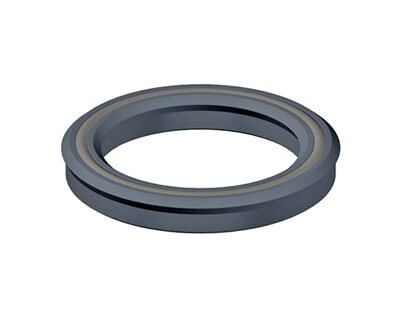
As they are made from synthetic rubber materials, such as nitrile rubber, these seals offer excellent sealing properties, along with resistance to oil and other fluids. The rubber material is molded into a ring shape, often with a metal casing or reinforcement to provide structural support and ensure durability.

Steps to Install Rubber Oil Seals Properly

Following the steps below leads to a proper installation of industrial rubber seals when used in your applications.

  1. Prepare the Surface: Take out the oil seals from their packaging only just before installation. Before installing the rubber oil seal, make sure the surface where it will be installed is clean and free of any debris or contaminants. Wipe the surface with a clean cloth or use a solvent if necessary to remove any grease or oil.
  2. Inspect the Rubber Oil Seal: Before blindly installing the seal, have a thorough check and inspect the rubber oil seal for any damage or defects. Ensure to use a seal of the correct size and type for your application.
  3. Apply lubrication: Apply a thin layer of lubricant to the industrial oil seal. This will help the seal slide into place smoothly and prevent any damage during installation.
  4. Position the seal: Now carefully position the rubber oil seal on the designated area. Ensure that the seal is aligned correctly and evenly with the surface. Avoid stretching or distorting the seal during this step.
  5. Use a seal installation tool: To securely install the seal, it is advisable to use a seal installation tool. This tool is specifically designed to prevent any damage to the seal and ensure a proper fit. If you need advice on the right tool, get in touch with the oil seal manufacturer.
  6. Apply consistent pressure: When installing the seal, ensure to apply consistent and even pressure around its circumference. You can gradually push the seal into its housing with a gentle, tapping motion. Applying excessive force can deform or damage the seal.
  7. Check the seal: Once done with the installation, double-check that it is seated correctly and evenly. Ensure that the seal is flush with the surface and there are no gaps or misalignments.
  8. Test for leaks: Testing the rubber oil seal for leaks is the last and crucial step. Apply appropriate fluid or pressure to the sealed area and carefully observe for any signs of leakage. You may make necessary adjustments or repairs to ensure proper sealing.


If you are still confused and have more doubts about rubber seals and their installation, get in touch with trusted oil seal manufacturers such as SSP Seals. With their expertise and experience, they can provide you with comprehensive information and guidance to ensure the successful use and installation of these seals. 
Share Button
Pinterest

Related Post